Flow of water through a capillary tube 1
Content of this page :
1. Introduction of the experiment.
2. Aim of the experiment.
3. Tools of the experiment.
4. Steps and methods of the experiment.
5. Parameter, Theory and Final law of the experiment.
6. Table of The Readings.
7. Medical application and advantages of the experiment.
1. Introduction of the experiment:
This flow rate is of great importance in our lives since it governs things like the flow of blood round our bodies and the transmission of gas, water or oil through long distances in pipelines.
The proof of the relationship was first produced by Poiseuille in 1844 using dimensional analysis (a different proof based on the mechanics of fluids is available, but is outside the scope of this work at this level).
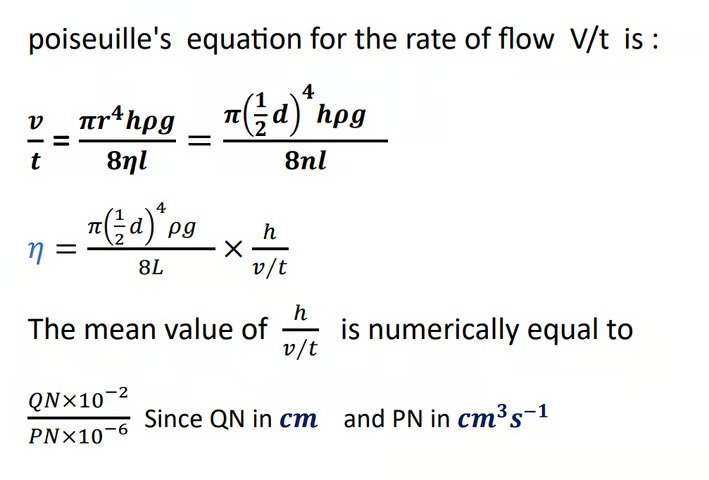
Consider a fluid of viscosity η flowing through a tube of length L and radius r due to a pressure difference Δp between its ends
2. Aim of the experiment:
-To show that the rate of flow is proportional to the applied pressure.
-To deduce the viscosity of water

3-Tools of The experiment
· Glass capillary tube of internal diameter 1/2 to 1mm and
of length about 30 cm
· Constant head apparatus
· Small beaker
· Burette
· Stop-watch or clock
· thermometer
· Spirit level
· Travelling microscope
· Meter scale
· Dilute nitric acid
· Dilute caustic soda solution
· Two stands and clamps
· Rubber tubing

4. Steps and methods of the experiment:
First measure the mean internal diameter of the capillary tube by the travelling microscope, taking the mean of four readings-two at right angles to each other at each end of the tube. Measure also the length I of the capillary tube.
Clean the capillary tube by washing successively in nitric acid, caustic soda and lastly in tap-water.
Set the constant head apparatus A in a clamp beneath a water tap and see that the waste outlet W discharges into the sink. Another outlet M may be provided on the apparatus already connected to a glass manometer. Connect the constant head outlet H to the cleaned capillary tube, held horizontally in a clamp, by a piece of rubber tubing sufficiently long to enable the constant head apparatus to be moved vertically up and down relative to the capillary tube. Use the spirit level to check that the flow tube is horizontal.
Turn on the flow of water and adjust the height of the constant head apparatus so that water issues from the open end of the capillary tube in a succession of drops. Put a smear of grease on the underside of the tube to prevent the water from running back along the outside of the tube. Place a thermometer in the constant head apparatus.
When conditions are steady allow the water to drop into an empty beaker which has been rinsed out in water but not dried. After a measured time of about 5 minutes pour the collected water into a burette which already contains water up to the lowest markings and from the difference in readings measure the volume of water collected.
Read the vertical height h of the level of the water in the manometer tube (or constant head apparatus) above the level of the bore of the flow tube.
Repeat the experiment for different values of h, varying the rate of flow as much as possible without allowing the flow to become either rapid or turbulent
5-Parameters, Theory And Final Law of The experiment
Parameters:
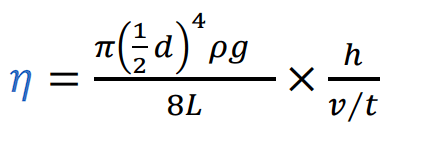
𝜂: viscosity of water in (𝑁 𝑠 𝑚−2)
d: diameters of capillary tube in (m)
𝜌: density of water in (kg/𝑚3)
𝑔: ground acceleration in (𝑚𝑠−2 )
𝑙: length of capillary tube in (m)
QN: applied pressure in (cm)
PN: the rate of flow of water in (𝑐𝑚3 𝑆−1)
Theory:


Final Law:

6. Table of the Readings:

7 -Medical Application:
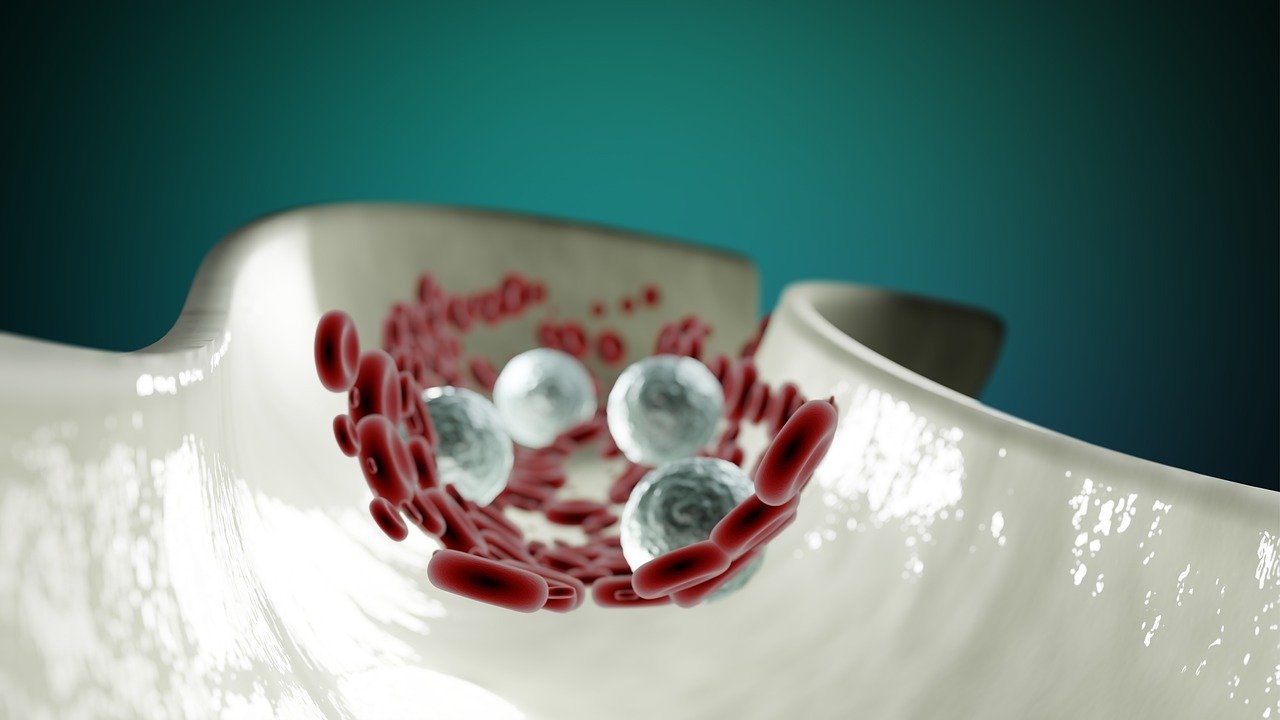
To measure the rate of flow of the blood
